Want to be a pro at mobile photography? Follow these tips!
{{ vm.tagsGroup }}
22 Nov 2021
5 Min Read
Rodric Chan (Guest Contributor), Josephine Serena (Editor)
Want to be a pro at mobile photography? Follow these tips!
Gone were the days when people had to rely solely on cameras, be it analogue or digital, to take pictures. These days, a quality smartphone can be comparable to that of a digital camera. In fact, some photographers are known to use their iPhones to shoot instead.
Here are some tips on to photograph like a pro using your iPhone. Don't worry, non-iPhone users can also apply some of these techniques as well!
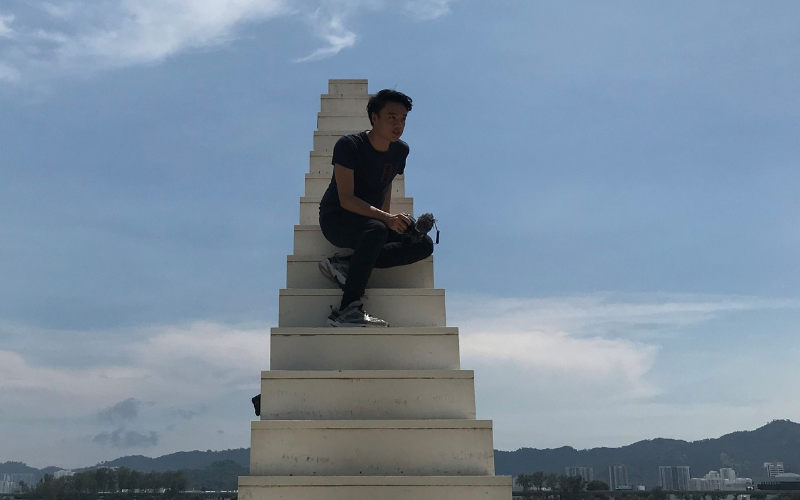
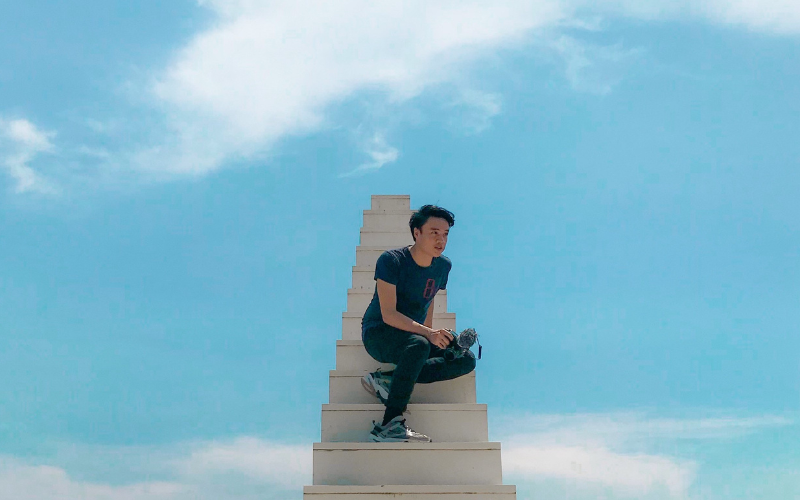
Arguably, more important than anything else, a good composition is what makes a good picture. Below is an example of a picture shot on iPhone 7 Plus that requires color editing, exposure correcting, and cropping.
Picture 1 is a great shot but if we removed the distractions from the subject, that’d be better. The distractions from the sea and the mountains don’t necessarily add to the picture. Hence, zooming into the subject as seen in Picture 2 does the trick. Also, don’t be afraid to change the dimensions of the picture. Now that the focus is clearer, Picture 2 could easily be passed off as an album for a music cover!
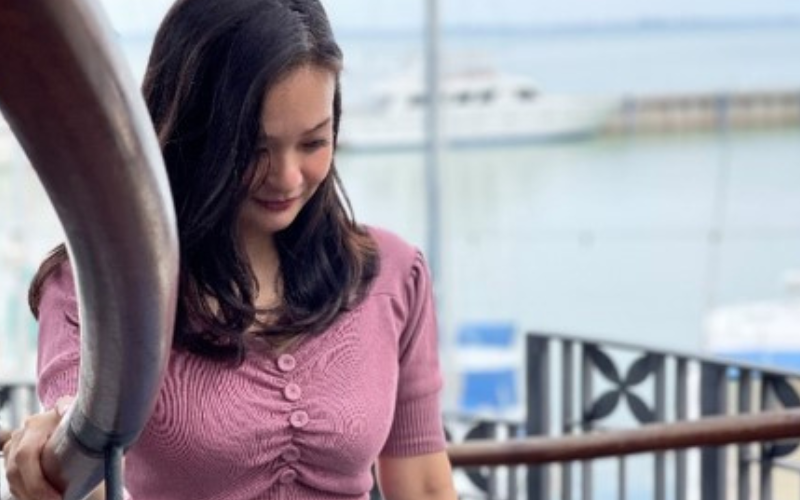
Understanding the concept of subject placements or just having that ‘aesthetic eye’ is important to make your picture look more atas compared to an average picture. With that in mind, being able to find the leading lines will help you take better photos. Leading lines are what professional photographers instill into their pictures by using the environment to highlight the subject.
Picture 3 has two handrails that swerve and guide your eyes to the subject. Picture 4 has the element of leading lines and frame fill. By filling up 75% of the image with the leaves on a tree, the subject lies just on the edge to help viewers focus onto the subject.
Likewise, symmetry is a technique used to show class, consistency, and branding. Use it sparingly as overusing it will make your work look less creative.
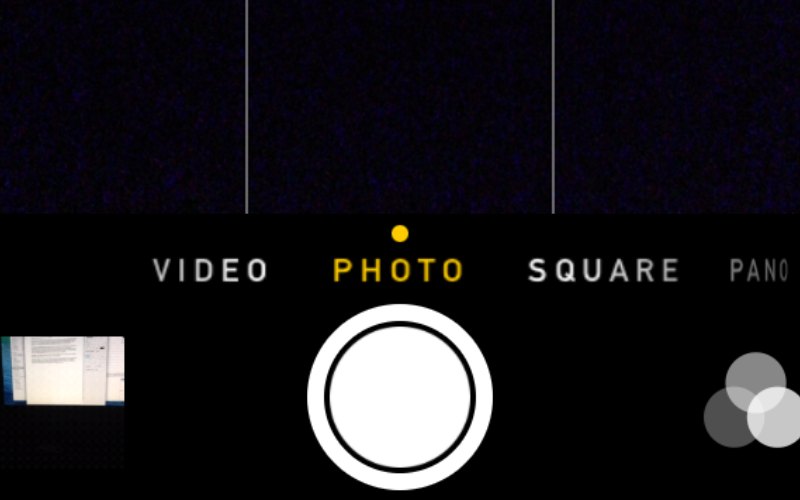
To make the illusion of a perfect symmetry, the iPhone photo grid feature can help you to center your photos.
The beauty of symmetry is in the art of the subject. It’s especially important when taking food photographs using the flat lay technique (shooting directly above). If you’re taking multiple shots, this also means the photo must show the same angle everytime to mimic a perfectionist’s feed.
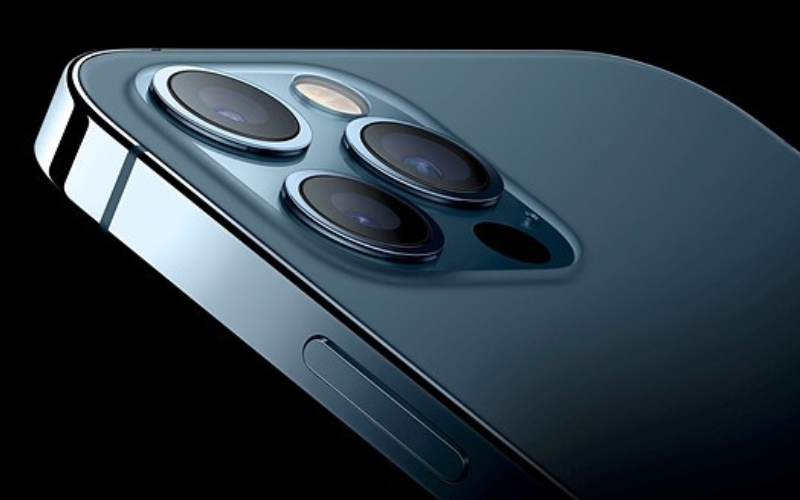
Some iPhones have more than one lens which gives us options to choose from. There’s the ultra wide angle, a wide angle, and a telephoto angle. An ultra wide angle creates a really distorted image that shows the skies to the ground below you. Likewise, the wide angle does the same at a lower extent, and finally the telephoto lens takes photos at a close angle from a distance. With this, you’d probably find it more difficult to grab a shot of the floor below you and the skies above you.
Knowing when to use these lenses is critical to tell a story for narrative photography shots. The ultra-wide angle makes things look smaller but it helps to fit the whole scene in the photo.
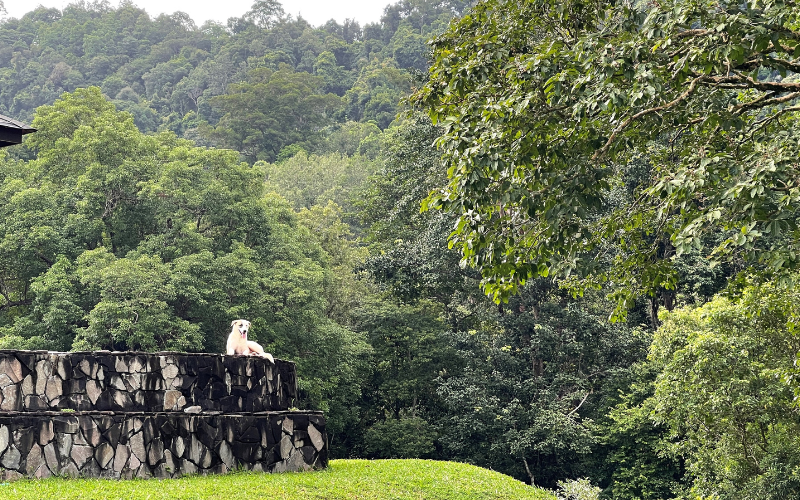
In Picture 9, the telephoto lens captures images that are further out to be closer in view.
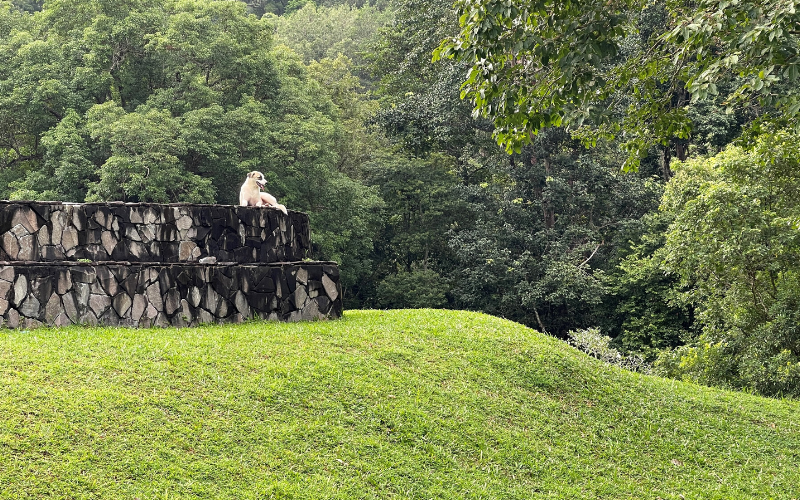
In Picture 10, the wide angle lens keeps everything in focus as it captures the foreground along with the background.
Here’s what you can do with the newest phone: shoot RAW. Being able to take photos in RAW is what truly separates a regular camera user from a pro. With the best of Apple RAW codec, you can capture high resolution images in the highest quality easily.
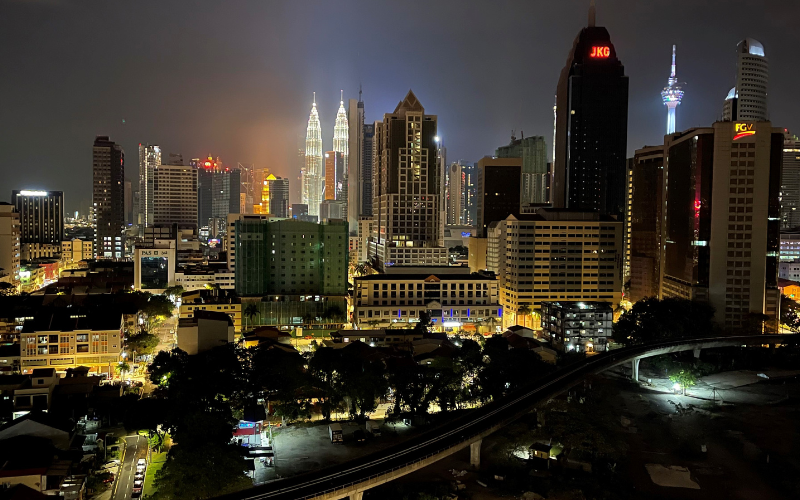
RAW images, to put it simply, is the highest output quality that your device can capture. Taking pictures in this mode is particularly important if you wish to extensively colour edit your photos. Below is an example.
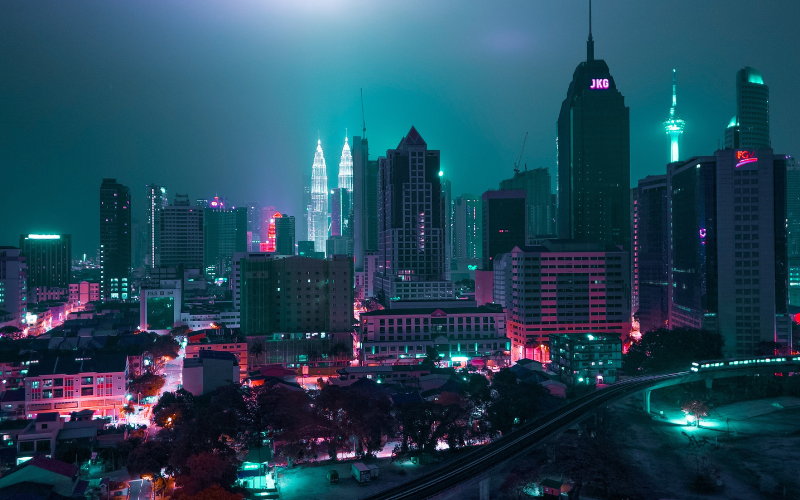
Amazing isn’t it? RAW images open up a new possibility for colour editing to showcase your editing skills! I’m a huge gamer, I can’t help but to imagine what Kuala Lumpur would look like in the cyberpunk world.
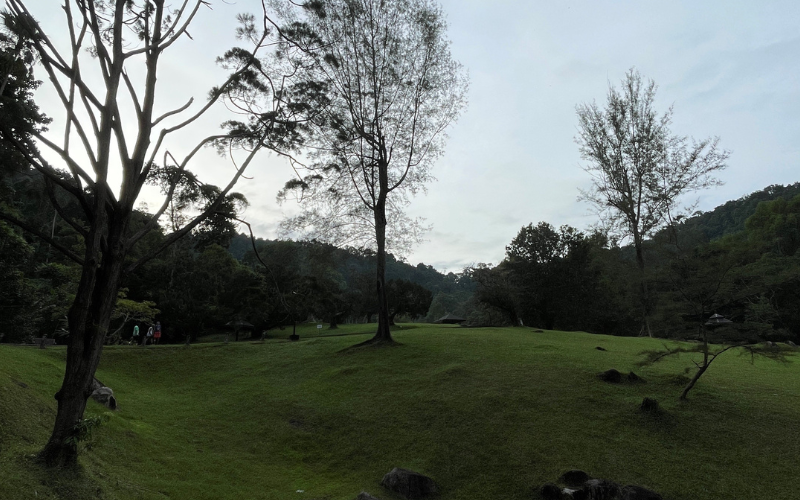
This may seem extremely counter intuitive, even for me. But, this technique is used to protect the skies or the source of light that’s usually going to be blown out from the picture. Simply tap on the sky or the source of light on your camera screen and your phone should automatically expose that region. Once ready, take the photo.
Don't worry if it looks bad. Trust me, this will give you maximum flexibility to edit your image later on.
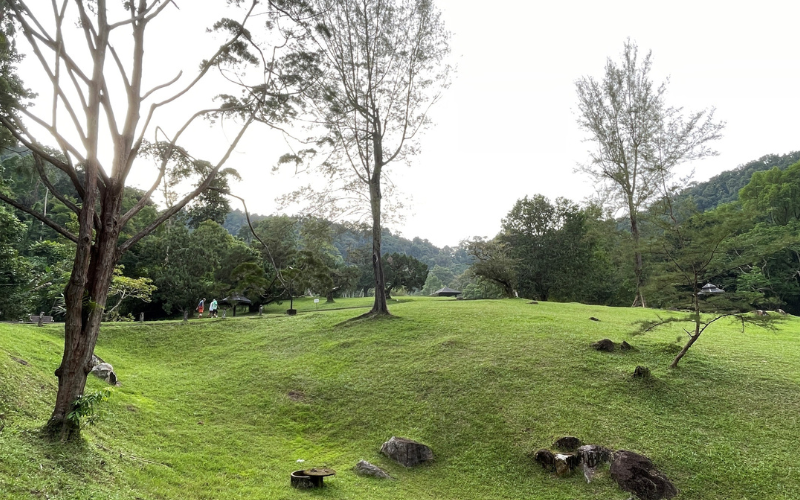
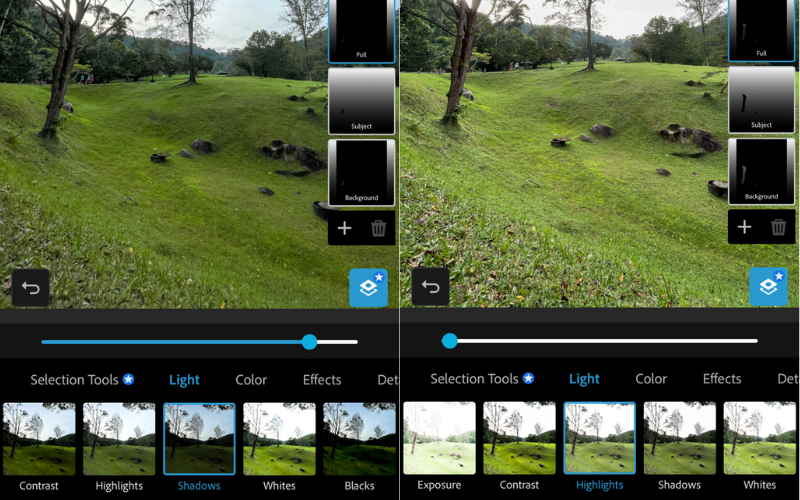
The following is true for most mobile phone and even video cameras — recovering shadows is possible but not highlights. Most professional photographers use this technique to expose the highlights and retain a natural looking image as close to the human eye as possible. Be extra careful though, editing a non-RAW image may produce very bad image quality when pushing the editing button too far.
These tips and tricks serve as a simple guide to help alleviate your phone photography skills to impress your friends with your cool Instagram feed! I’d challenge you to also practise right away these 6 simple steps. These tips can also be applied to Android phones too, with the exception of Apple RAW and the iPhone photo grid menu.
I hope this article helps you to begin your journey as a mobile photographer and in time, you can learn more advanced techniques such as photo manipulation, photo recomposition, and advanced colour grading.
Rodric enjoys filming videos and sharing them on his IG and YouTube. He is a persistent content creator and never stops learning to improve his skills. A Taylor’s University alumni, he studied Bachelor of Biomedical Science (Hons) and is also one of The Risers’ ambassadors!